
 Nicole Dolezalova
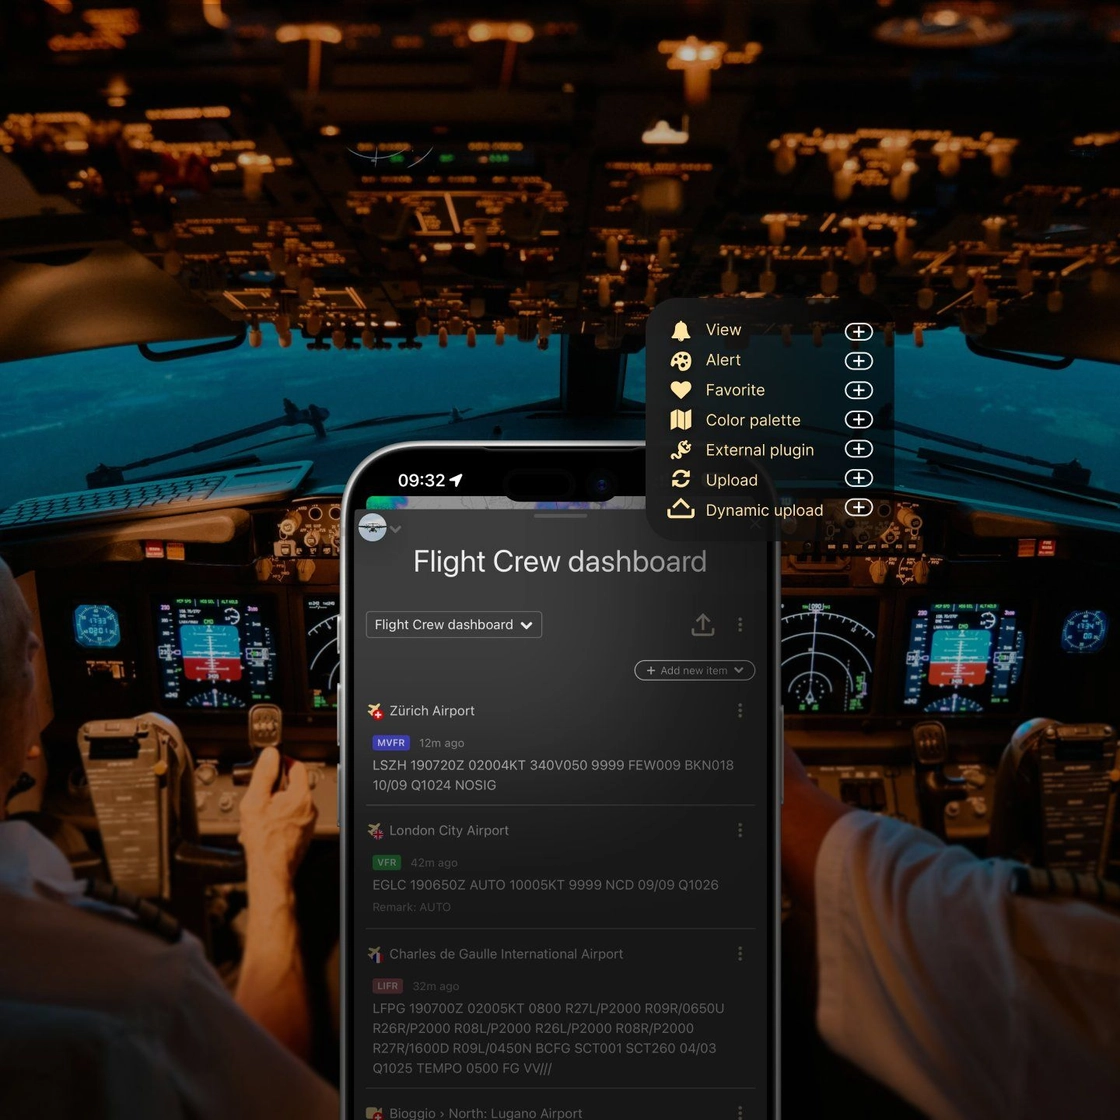
Flight schools, offshore crews, sailing, kite schools, paragliding clubs all rely on the same weather information before heading out, but it’s often spread across different apps, forecasts, and shared files.
Weather dashboards bring it all into one shared weather hub for your organization, with your routes, map views, alerts, and files, always the same for everyone on the team. Here’s how to set one up and share it.
Set up your organization
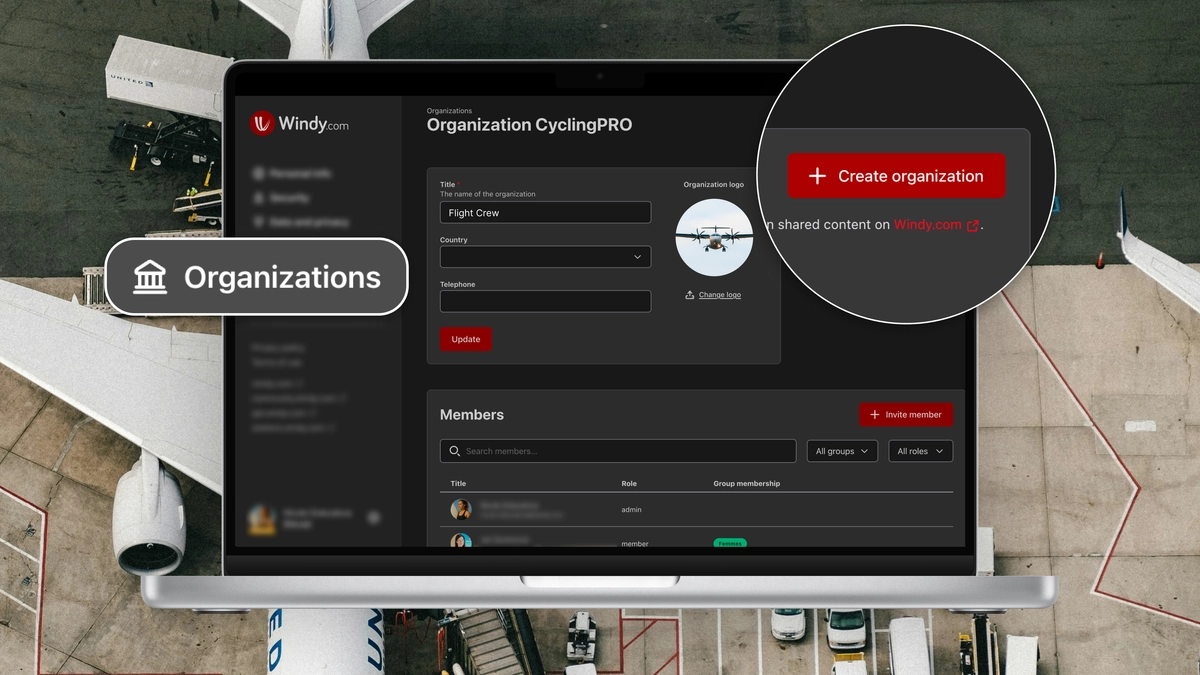
Every dashboard belongs to an organization, so start there.
- Create your organization in your Windy account.
- Add your team members.
- Manage their rights and organize them into groups.
Team members need to accept the invitation before they can join your organization's dashboard. Once they do, the dashboard appears below their avatar.
Create your dashboard
Once your dashboard is created, it opens as a panel with its name at the top. Use the dashboard selector to switch between dashboards if your organization runs more than one, for example one per base, event, or team.
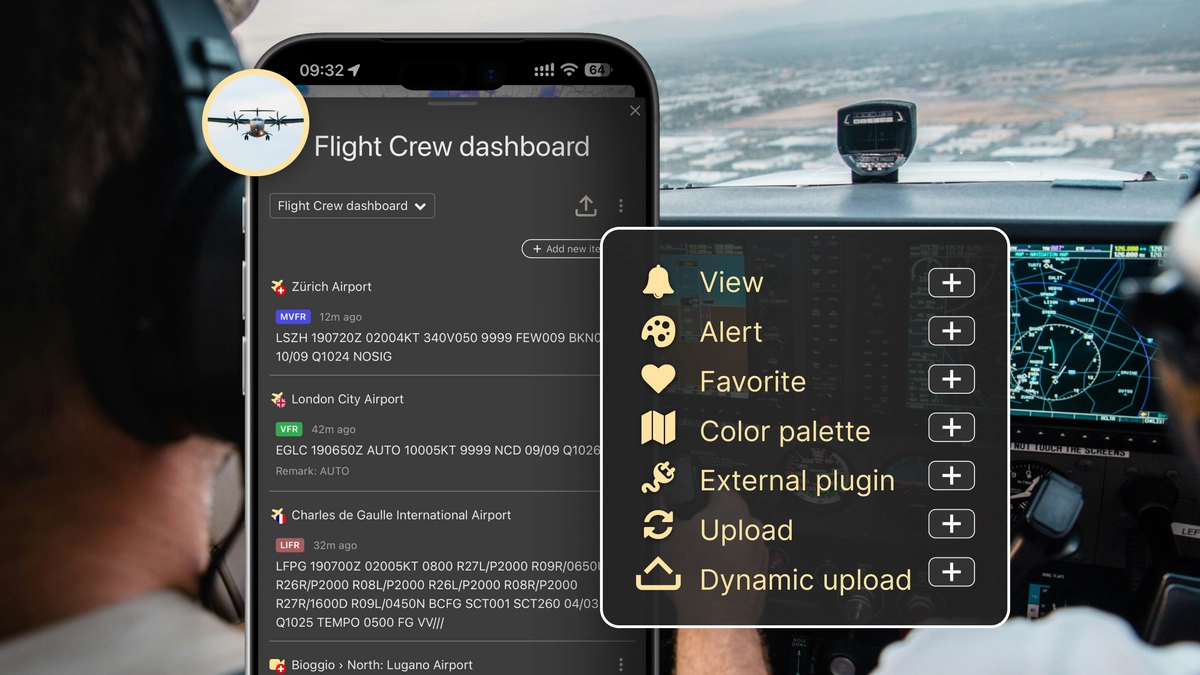
To start filling it, tap "Add new item" and choose the type of item you want to add.
Add items to your dashboard
View
Save the current state of the map (layer, forecast model, position, and zoom) and restore it later in one tap. Set up the map exactly as your team needs it, for example rain and thunder from ECMWF over your operating area, then tap "Capture current view".
Alert
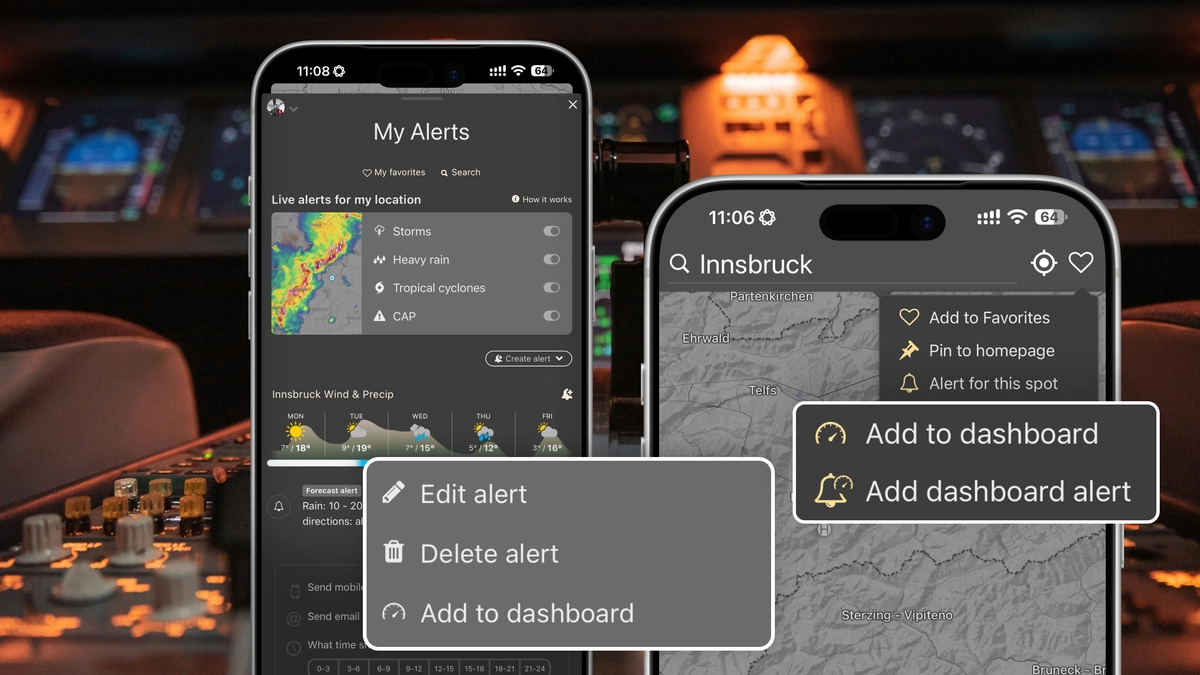
Create a shared weather alert for the dashboard. Any group member can subscribe and get notified when the conditions are met.
To create a dashboard alert, open the alerts menu and add one of your existing alerts, or click a location on the map and use the option in the heart menu next to the search bar.
Favorite
Got a favorite place, airport, weather station, webcam, or route? Now you can share it with your team by copying it into your dashboard.
To keep it simple, add the favorites you've already saved: open the Favorites menu, click the three-dot menu next to a favorite on desktop (or swipe left on it on mobile), and select "Copy to Dashboard".
Color palette
Share custom colour palettes with your organization, so everyone reads the layers on the same scale.
Create a palette in the colour editor (Settings → Customize colors scale) and add it with "Add to dashboard".
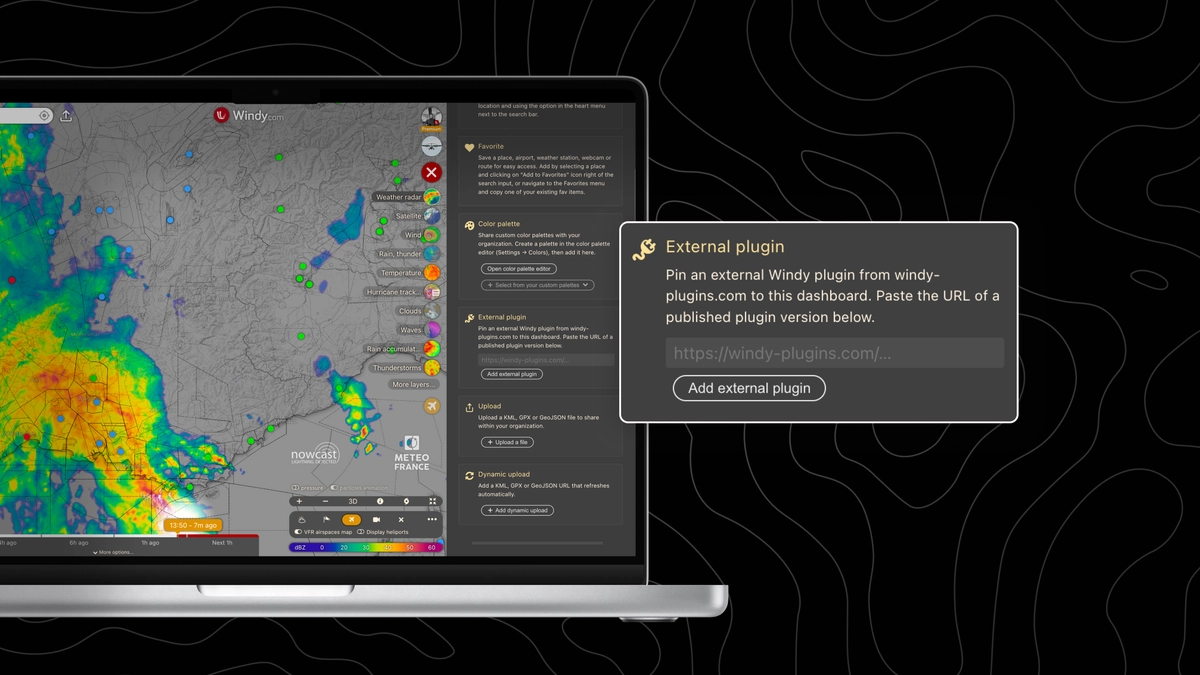
External plugin
Pin a published Windy plugin from windy-plugins.com to your dashboard. Paste the URL of a published plugin version and tap "Add external plugin".
The URL must start with https://windy-plugins.com/ and point to a specific plugin version, for example https://windy-plugins.com/windy-plugin-my-plugin/1.0.0.
Upload
Upload a KML, GPX, or GeoJSON file to share it within your organization: a race course, a flight route, an operating area, or points of interest. Tap "Upload a file" and choose the file from your device.
Dynamic upload
A regular upload is a snapshot: the moment the file changes, your team is looking at old data. Dynamic upload keeps the map live. Link a KML, GPX, or GeoJSON file that your team or your systems keep updated (a regatta course, a search area, a delivery route, or a fleet's latest positions), and Windy fetches the newest version automatically. Everyone on the dashboard sees the same up-to-date picture on top of the forecast, with no re-uploading and no outdated files passed around.
- Tap "Add dynamic upload" and paste the URL of your file.
- Windy detects the file type from the URL (.kml, .gpx, .geojson, or .json) and fills in the title from the file name. If the URL has no clear extension, choose the file type manually.
- Set how often the file should refresh, in minutes.
Need the newest version right now? Refresh the item manually instead of waiting for the next update.
Where to host your file
The URL must be public, use HTTPS, and lead straight to the raw file, not to a web page that displays it. Reliable options include:
- GitHub Gist: use the "Raw" link, which starts with https://gist.githubusercontent.com/ and ends with /raw (add the file name if the gist has more than one file)
- GitHub or GitLab: use the raw file URL, for example https://raw.githubusercontent.com/user/repo/main/route.gpx
- Dropbox: change ?dl=0 at the end of the share link to ?dl=1
- Cloud storage: a public file in an AWS S3, Google Cloud Storage, or Cloudflare R2 bucket
Note: standard Google Drive sharing links open a web page instead of the file, so they won't work. A link to a gist page (gist.github.com) won't work either; use its raw link instead.
Organize your dashboard
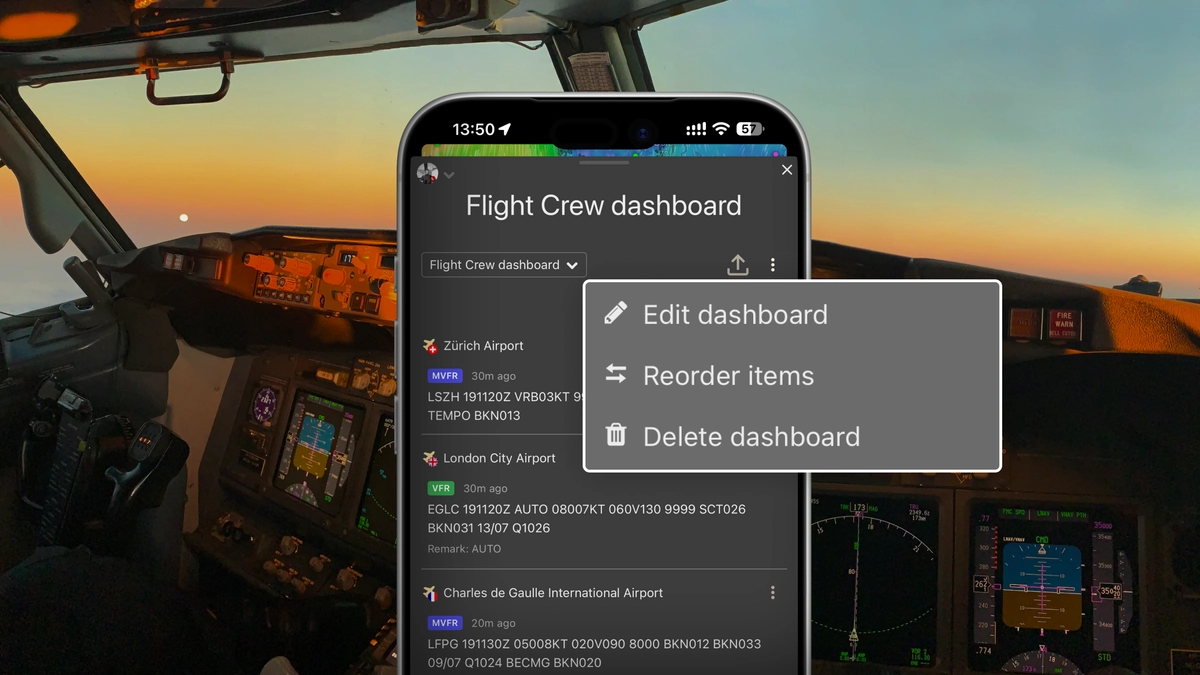
Open the three-dot menu next to the dashboard name to edit it, make the dashboard public, and delete or reorder its items.
Share your dashboard
Tap the share icon at the top of the dashboard to send it to others. Set it to public view, and any Windy user with the link can see it, even outside your organization, in view-only mode. Clients, partners, or event participants can follow the same weather picture.
Viewers need to be signed in with a Windy account to open a public dashboard.
Weather dashboards on Windy.com
Weather dashboards arrived in version 51.3. See everything else that's new in this article.
Whether you're a pilot, surfer, sailor, or cyclist, show us your favorite dashboard: make it public and share the link in the comments below or at community.windy.com. Haven't built one yet? Tell us what your dream dashboard would look like. Your ideas help other teams get started and help us shape what comes next.
For technical or Premium issues, contact us directly at support@windy.com.
Comments (35)